Developer Quickstart
Complete this guide before moving on to the rest of our tutorials.
Create a Console account.
The only thing you need to start using Palenca is a Console account. You can get onehere.
InformationWe have 2 environments: Sandbox and Production. For a complete reference on all our API routes click here.
https://sandbox.palenca.com
https://api.palenca.com
1. Get your API keys.
You can find your own API keys in the Console, in the Developers section on the left side of the screen. Note that you have both Sandbox and Production API Keys.
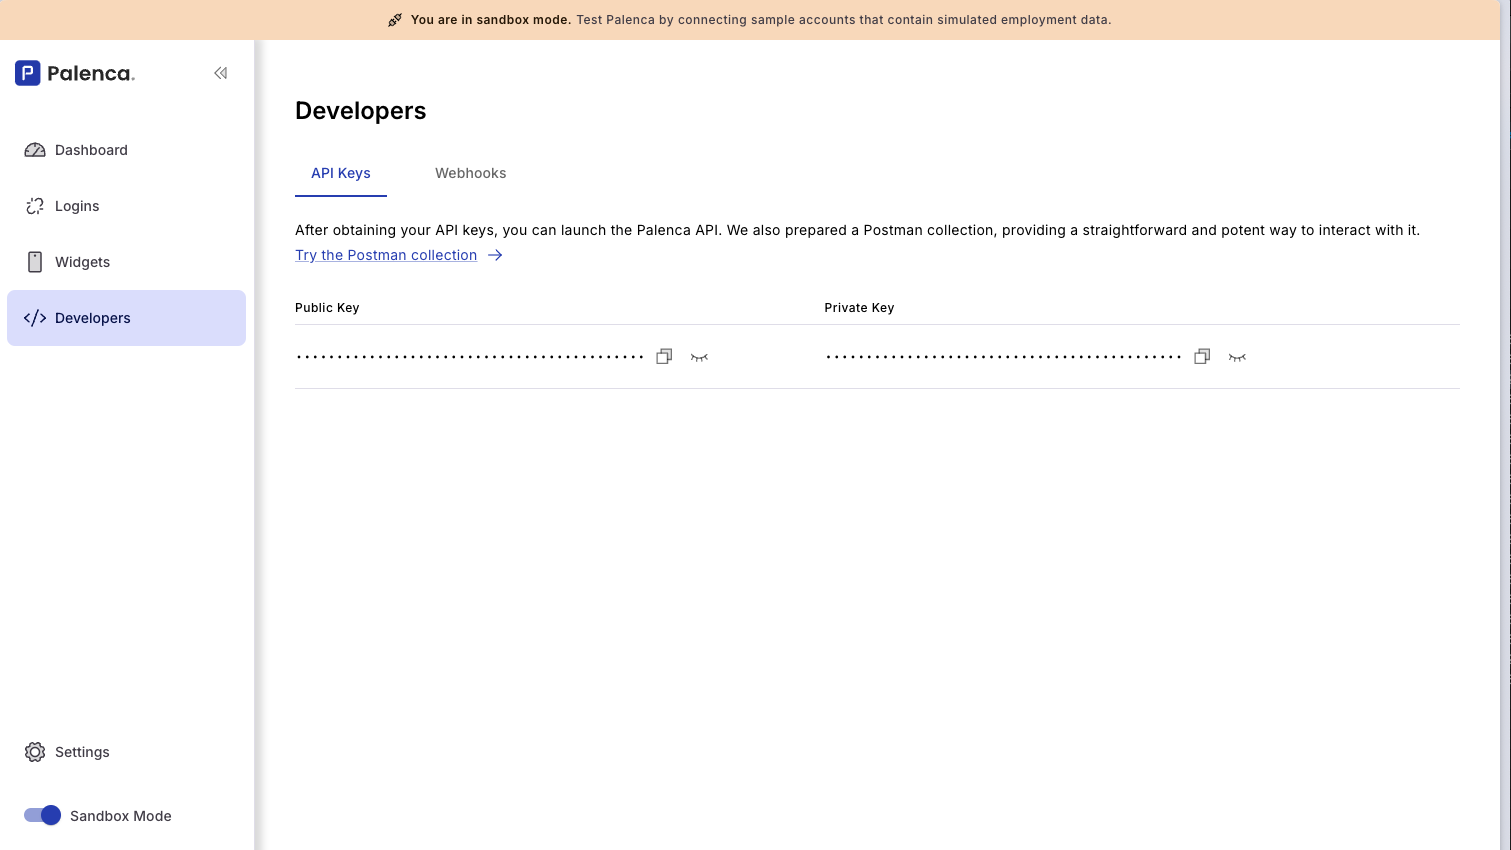
You will need to include them in every API call inside the x-api-key header. We will provide examples below.
Have them somewhere close to you for the tutorials to come.
2. Create a widget
In the left side of your Console page, click on the Widgets section.
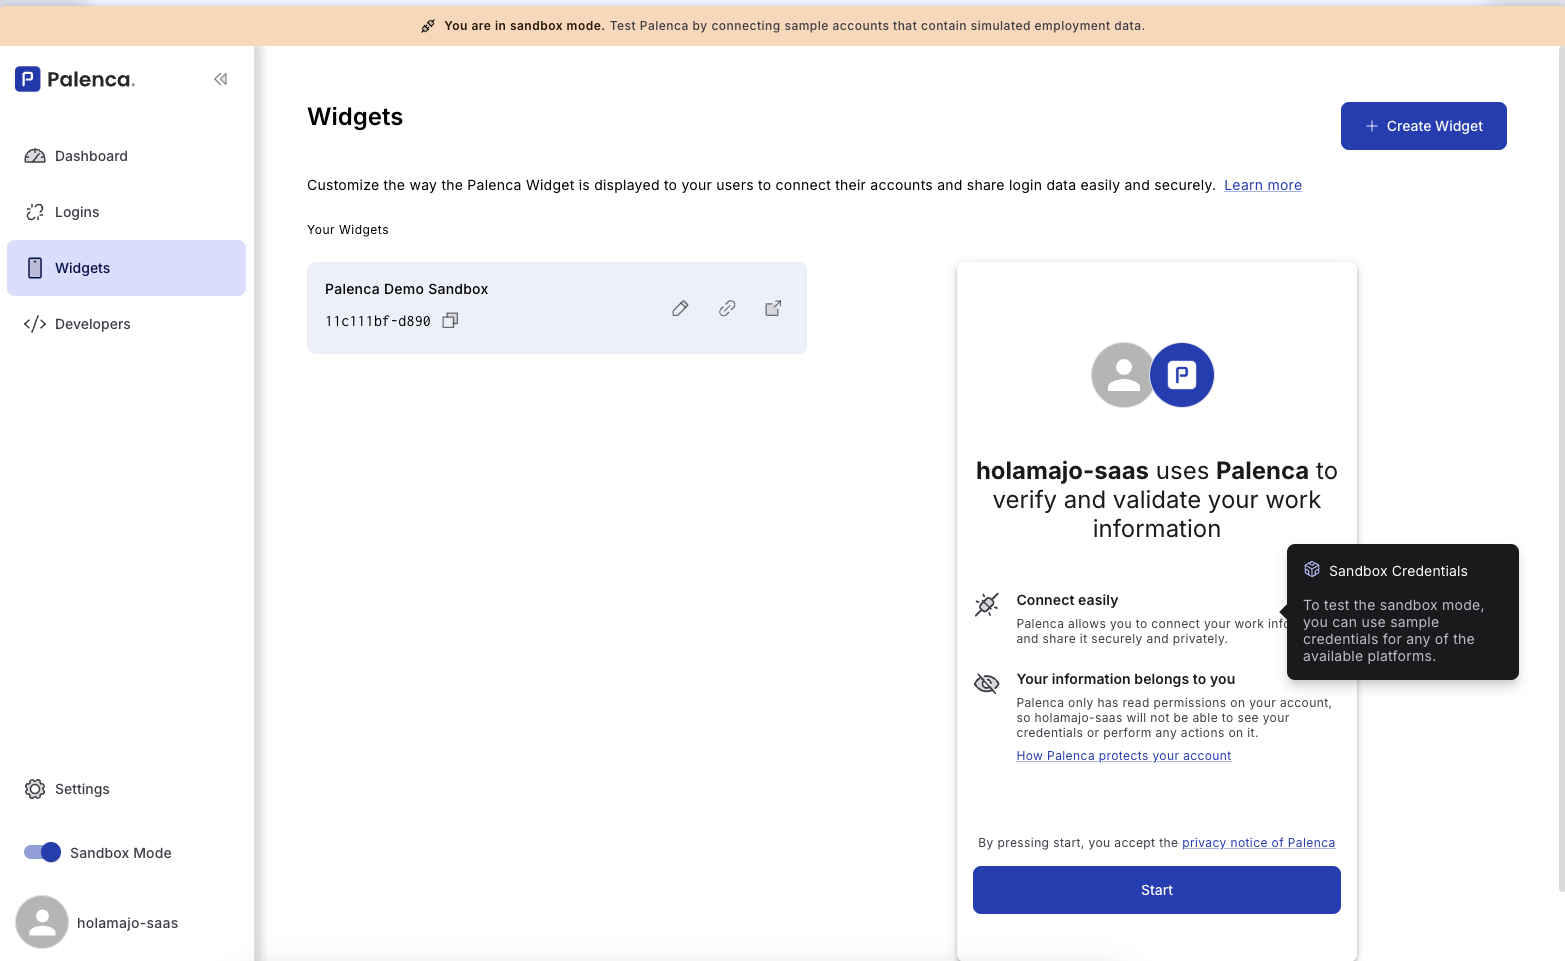
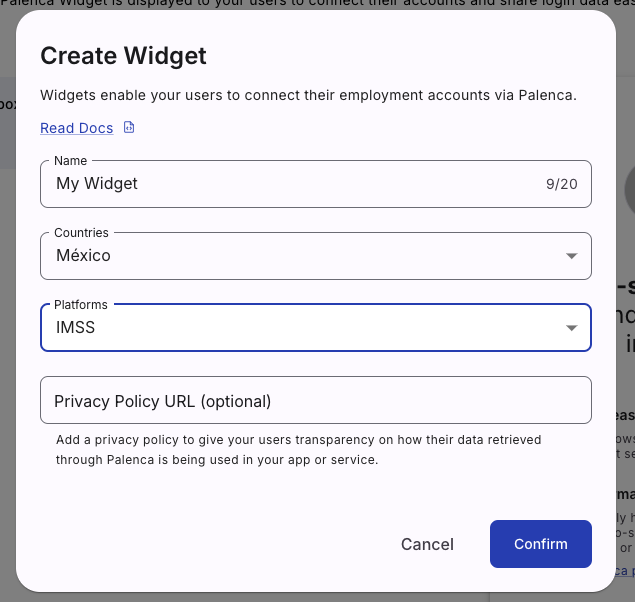
Then, click on "Create Widget". You need to give it a name. Don't worry, the end user will not see this name so you can choose the first thing that comes to mind. You will also be able to rename it later. If you don't know what countries or platforms to choose, you can choose all countries and all platforms, there is no downside to this. However, we recommend the countries you have clients in, and the platforms you're interested in consulting.
Once your widget has been created, copy its ID.
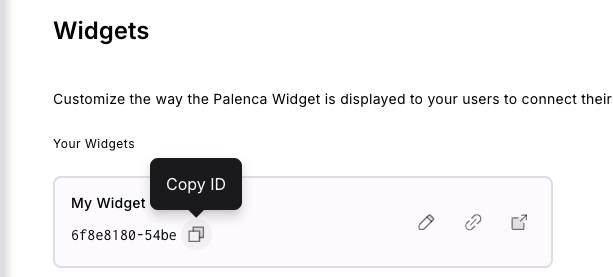
Have this ID close to you for the examples to come.
3. Create your first API call.
Now that you have your API Keys and your widget_id, we can make our first Palenca API call. We will create a user (which represents a worker).
Note that we are calling the sandbox API. Make sure you are using your sandbox API Key and your sandbox widget_id.
curl --location 'https://sandbox.palenca.com/v1/users' \
--header 'x-api-key: SANDBOX_PRIVATE_API_KEY' \
--header 'Content-Type: application/json' \
--data '{
    "widget_id": "SANDBOX_WIDGET_ID"
}'
const axios = require('axios');
let data = JSON.stringify({
  "widget_id": "SANDBOX_WIDGET_ID"
});

let config = {
  method: 'post',
  url: 'https://sandbox.palenca.com/v1/users',
  headers: {
    'x-api-key': 'SANDBOX_PRIVATE_API_KEY',
    'Content-Type': 'application/json'
  },
  data : data
};

axios.request(config)
.then((response) => {
  console.log(JSON.stringify(response.data));
})
.catch((error) => {
  console.log(error);
});
import requests
import json

url = "https://sandbox.palenca.com/v1/users"

payload = json.dumps({
  "widget_id": "SANDBOX_WIDGET_ID"
})
headers = {
  'x-api-key': 'SANDBOX_PRIVATE_API_KEY',
  'Content-Type': 'application/json'
}

response = requests.request("POST", url, headers=headers, data=payload)

print(response.text)
You should see a response like this, which means that a user was successfully created.
{
   "success":true,
   "error":null,
   "data":{
      "user_id":"2aa94c25-38cf-4734-b881-4f29f0bbc6bd",
      "external_id":null
   }
}
You can't do much with that information right now, but now you know how to interact with our API. In the next page we will dive deeper into how to integrate with Palenca's IMSS service, our most popular platform.
Updated over 1 year ago